


Servings: 8 slices
Equipment
- 9.75-in Deep Dish Pie Dish
- Parchment Paper or Foil
Ingredients
- 1 Shortcrust Pastry, or refrigerated pie crust
- 1 egg, lightly beaten (for brushing the edge of the crust before baking)
Light Pumpkin Pie Filling
- 1-2 teaspoons cinnamon
- 2 teaspoons pumpkin pie spice
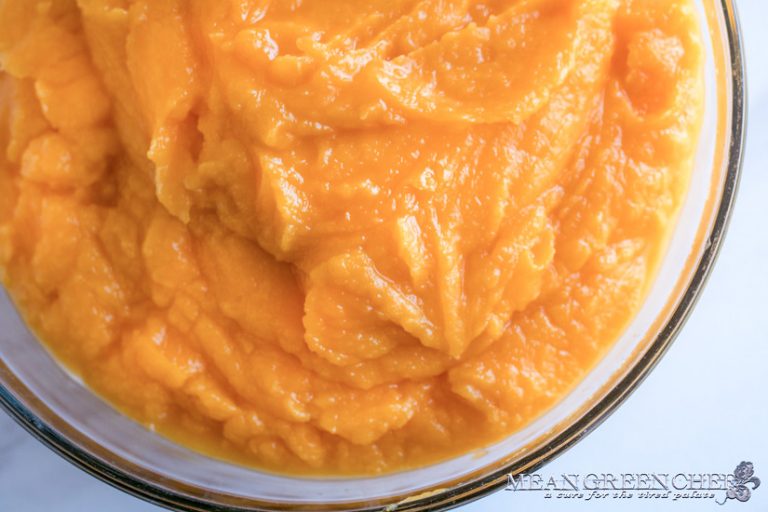
- 15 ounces (425 grams) Roasted Pumpkin Puree, or 1 can pure pumpkin puree
- ½ teaspoon Pink Himalayan Sea Salt or Kosher Sea Salt, finely ground
- 1 14 ounce can sweetened condensed milk
- 2 large eggs, room temp + lightly beaten
Dark Pumpkin Pie Filling
- 1-2 teaspoons cinnamon
- 2 teaspoons pumpkin pie spice
- 15 ounces (425 grams) Roasted Pumpkin Puree, or 1 can pure pumpkin puree
- 1 cup (180 grams) dark brown sugar
- 1 teaspoon vanilla
- 2 Tablespoons all-purpose white flour
- ½ teaspoon baking powder
- ¼ teaspoon Pink Himalayan Sea Salt or Kosher Sea Salt, finely ground
- 2 large eggs, room temp + lightly beaten
Instructions
- Preheat the oven to 400°F/204°C

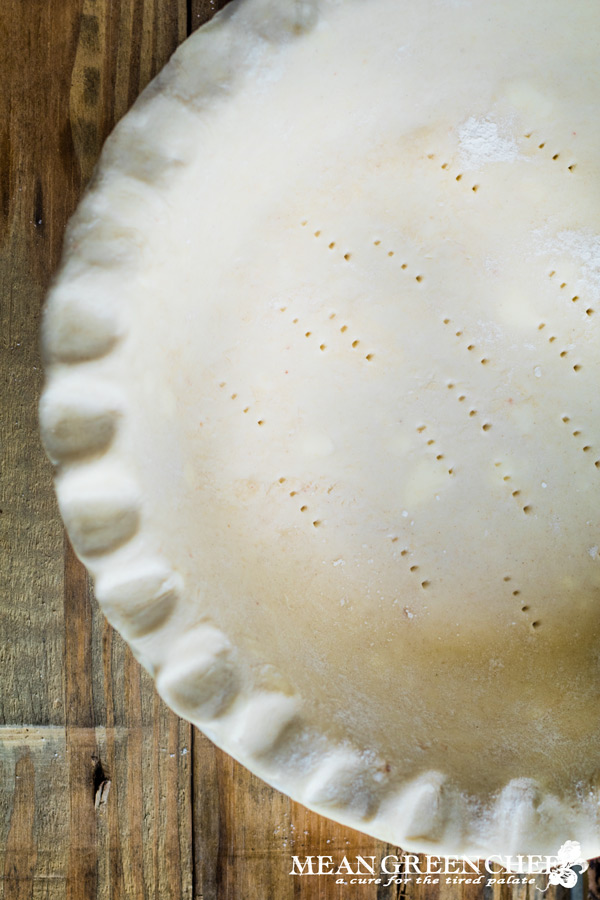
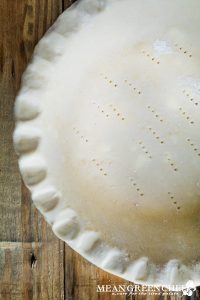
- Roll the pastry dough out if needed, loosely drape over a 9-inch deep-dish pie pan allowing the crust to nestle down into the dish. The excess dough is trimmed and then flute the edges by pinching with your fingers.

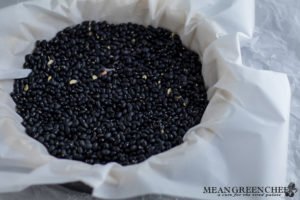
- Bake at 400°F/204°C for 15 minutes, transfer from the oven and lift the beans (or rice) out with the liner and return the shell back to the oven for 10 minutes. Remove from the oven and allow the shell to cool, then proceed with your fillings.

- Increase the oven temperature to 425°/218°C


Light Pumpkin Pie Filling
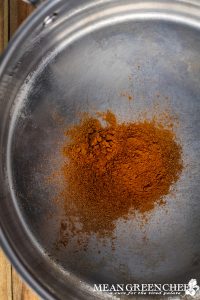
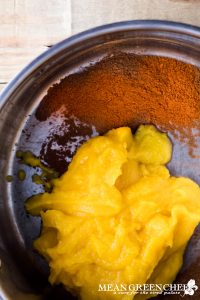
- Heat a heavy-bottomed pot over medium-high heat. Heat the pumpkin pie spice and ground cinnamon for 30 seconds to 1 minute, until toasted and aromatic.
- Add 15 ounces of Roasted Pumpkin Puree and sea salt until thoroughly combined with the spices and heated through.
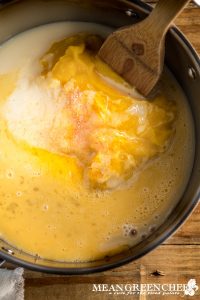
- Remove from the heat and allow to cool for 10 minutes, then add the sweetened condensed milk and slightly beaten eggs and mix to combine.
Dark Pumpkin Pie Filling
- Heat a heavy-bottomed pot over medium-high heat. Heat the pumpkin pie spice and ground cinnamon for 30 seconds to 1 minute, until toasted and aromatic.
- Add 15 ounces of Roasted Pumpkin Puree and sea salt until thoroughly combined with the spices and heated through.
- Now add the dark brown sugar, all-purpose flour, pure vanilla extract, baking powder, and ¼ teaspoon of sea salt. Stir until combined and sugar has melted, remove from the heat and allow to cool for 10 minutes. Then stir in the 2 lightly beaten eggs and mix till combined.

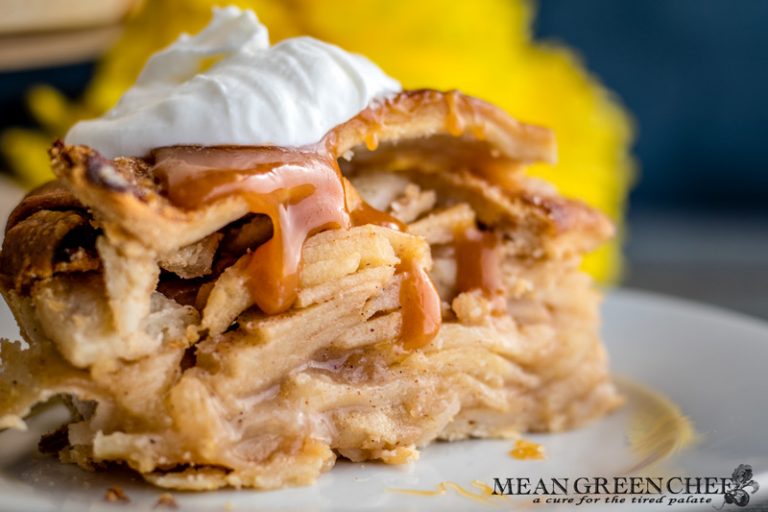
Assemble Punch of Pumpkin Pie
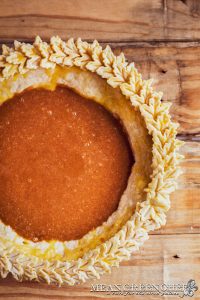
- Pour the Dark Pumpkin Pie Filling into the blind-baked pie shell.
- Now pour the light filling into the dark, use the tip of a knife to create a swirl pattern. Brush the edges of the pie shell with the beaten egg.
- Bake the pie for 15 minutes at 425°/218°C then REDUCE the temperature to 350°F/175°C and continue baking 35-40 minutes or until knife inserted 1 inch from crust comes out clean.
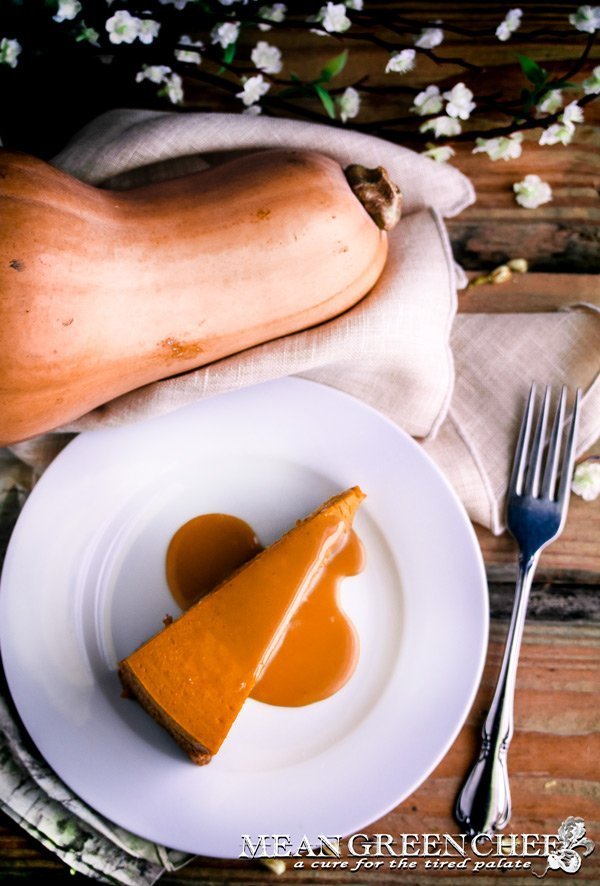
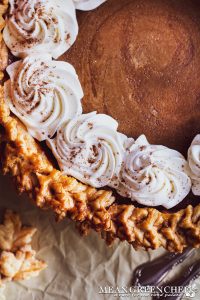
- Remove from the oven, cool. Garnish as desired and serve.


Notes
- Prep time is approximate.
- Wrap tightly and store in the refrigerator up to 4 days.
- To freeze Punch of Pumpkin Pie, allow the pie to cool completely. Wrap the pie tightly in layers of plastic wrap until it’s sealed. Then, wrap in heavy-duty aluminum foil for extra protection against freezer burn. Place on a level freezer shelf, and store up to a month.
- The day before serving, transfer from the freezer, unwrap, and defrost in the refrigerator for 12 hours. Thawing faster at room temperature causes condensation to form on the pie, and that moisture will absorb into the crust, making it soggy.
- If your pie has any dips or blemishes, remember that whipped cream makes for the perfect cover-up!
Tried this recipe?Let us know how it was!


So much pumpkin love in this recipe! Yum! I’ve got a pie pumpkin just waiting to roast too!
I’m getting ready to roast another Cinderella Pumpkin this morning, Kendra, so much fun creating with them! 🙂
this looks delicious! I will be trying later in the week!
Great, Yasmin! Be sure to share your results with us 🙂
Pumpkin pie is already delicious, but yours is absolutely beautiful AND delicious! That crust comes out perfect every single time. Thanks for sharing with us!
Thank you so much, Tamara! 🙂 The crust always comes out perfect, I swear it’s the easiest and best crust ever lol
What a gorgeous pumpkin pie! I love the crust.
Thanks so much, Erika! So glad that you like it 🙂
This looks lush, will have to give this a try!
Hope you do, Kay, thanks for stopping by to check it out! 🙂
Swirling the two fillings together like this is such a great idea. It has such a cool looking effect and I bet it tastes delicious. I think I’ll try this one out for Thanksgiving!
Thanks so much, so glad that you like our recipe it bakes up beautifully! 🙂
The name of this pie totally draws me in and then the photos are just stunning. I am not sure who could dare cut into that gorgeous pie.
Thanks so much, Angela! I really appreciate the kind words 🙂
Beautiful pie and I love all your extra tips!
Thank you, Patrice, I’m glad that our tips are helpful too! 🙂
I have to try your recipe for pumpkin pie!! Looks so delicious and perfect:). You’re always making gorgeous recipes!!!
Awww thank you so much, Sonila!!! You totally made my day 😀
Just love your site and recipes. I have a pie pumpkin waiting to be made into lovely dishes and am savoring the idea of it for our Thanksgiving based on your guidance. I had no idea about straining the pumpkin puree and now will add that to my routine.
Thanks ever so much, Beth! So glad that you enjoy our site and more importantly learn new techniques to add to your ninja cooking skills! 🙂