

Searing meat is more than just a culinary technique; it’s a transformative process that enhances flavor and texture, elevating your dishes to new heights. Whether you’re a seasoned chef or a novice in the kitchen, mastering the art of searing can take your cooking skills to the next level. In this comprehensive guide, we’ll explore the ins and outs of searing meat, from choosing the right pan to incorporating tips and tricks that will leave your taste buds begging for more.
Maillard Reaction: A concurrent chemical reaction in which heat transforms proteins and sugars on and in food. Creating new aromas, colors, and flavors. It makes a grilled steak taste charred, pan-fried chicken taste crunchy and moist, and pan-roasted almonds taste toasty. Temperatures must be high! Fast heating causes moisture to evaporate and browning starts to occur. Rapid heating via grills, hot pans, ovens, griddles, blowtorches (after sous viding) and deep fryers all create deep layered flavors in food.
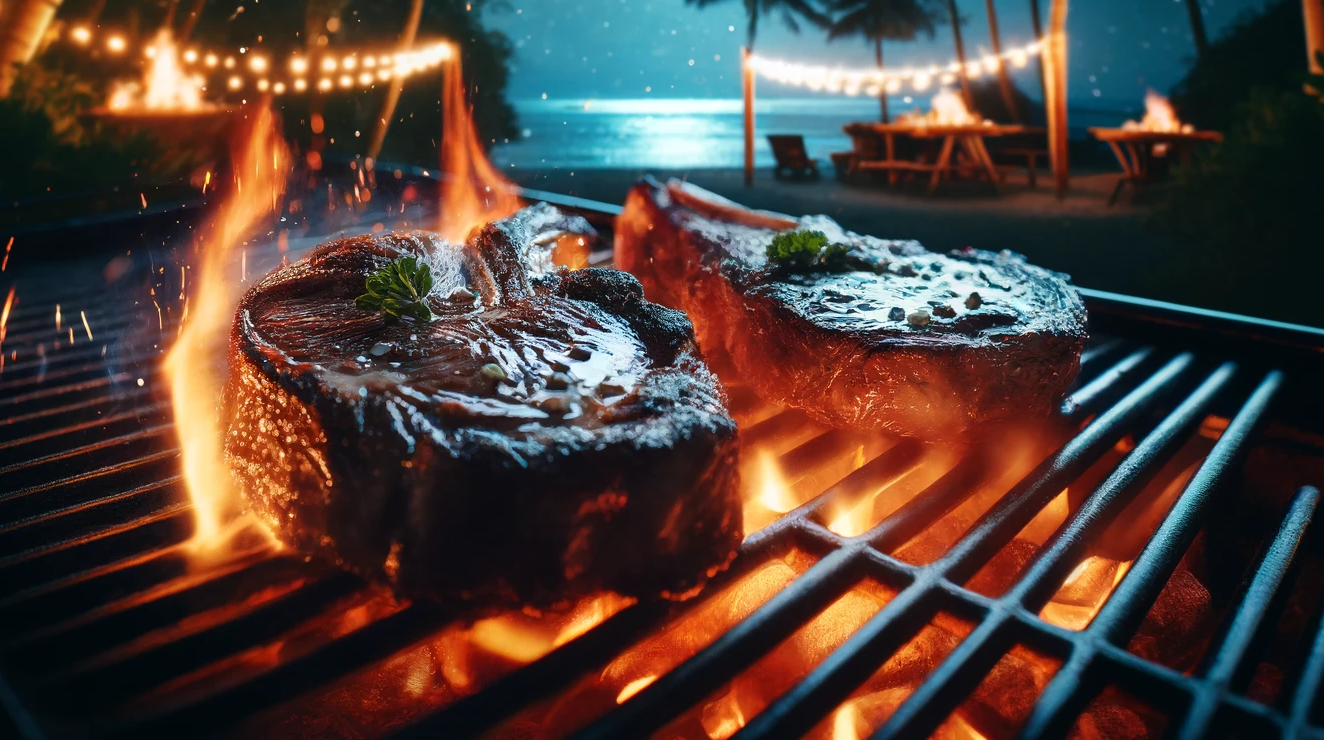
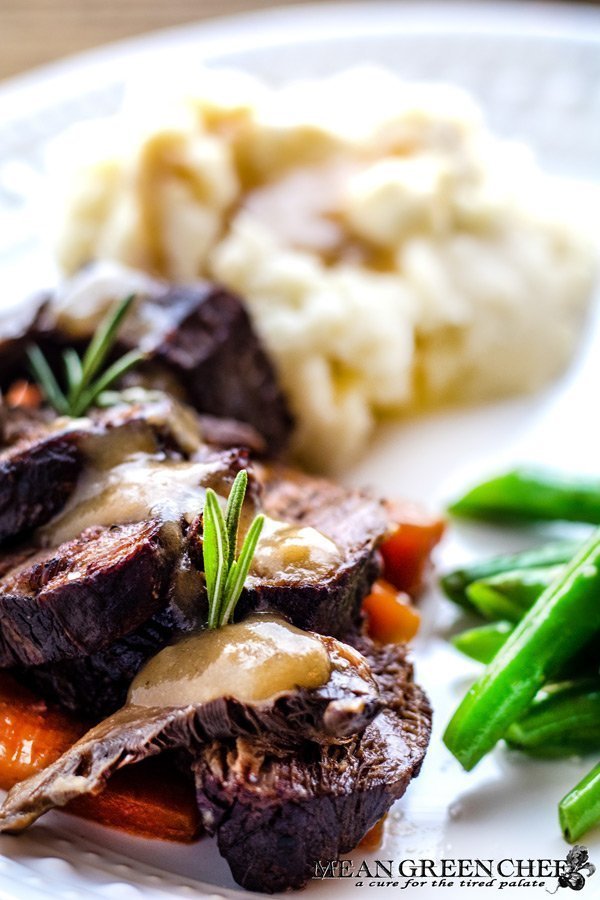
When meat hits a fiery hot surface, the outside rapidly begins to brown and caramelize. Steaks, burgers, stew, roasts, braises and a host of other foods benefit from this important step.
carte du jour
ToggleEnhance Flavor with Searing: Elevate Your Meat Dishes!
While it may take a few fast more minutes, this step is crucial in flavor development. A beautifully crusted grilled steak will be chosen every time, over an incorrectly cooked grey cut of meat.

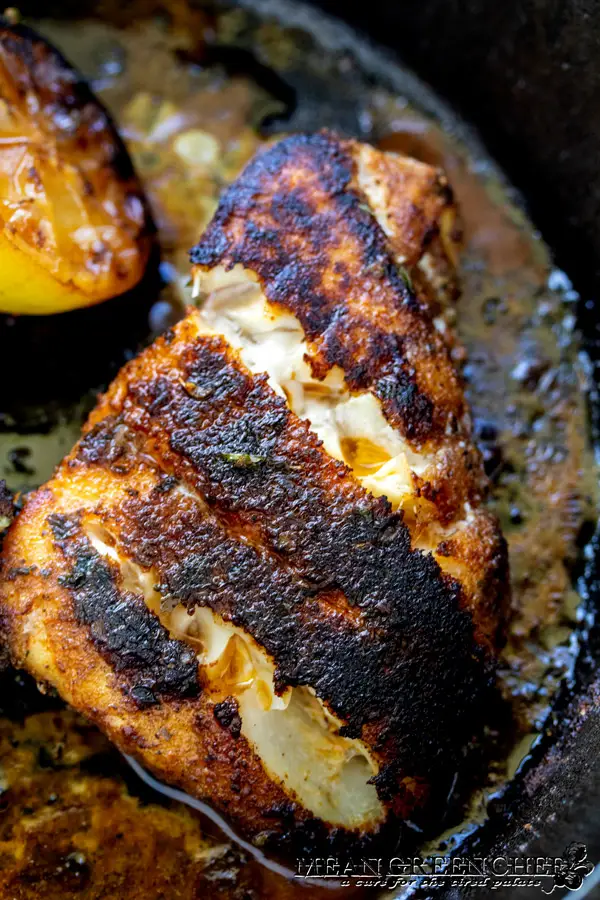
Searing meat is a cooking technique that involves quickly cooking the exterior of the meat at a high temperature. This process creates a caramelized crust on the surface of the meat, which enhances its flavor and texture in several ways:
Maillard Reaction: Searing triggers the Maillard reaction, a chemical reaction between amino acids and reducing sugars that occurs at high temperatures. This reaction produces new flavor compounds, resulting in a rich, complex flavor profile and appetizing aroma.
Texture: Searing helps to create a crispy, caramelized crust on the exterior of the meat, while sealing in the juices. This contrast in texture adds depth to the overall eating experience, with a satisfying crunch giving way to tender, juicy meat inside.
Appearance: The caramelization of the meat’s surface during searing also enhances its visual appeal, giving it an appetizing golden-brown color. This attractive presentation can make the dish more appealing and appetizing to diners.
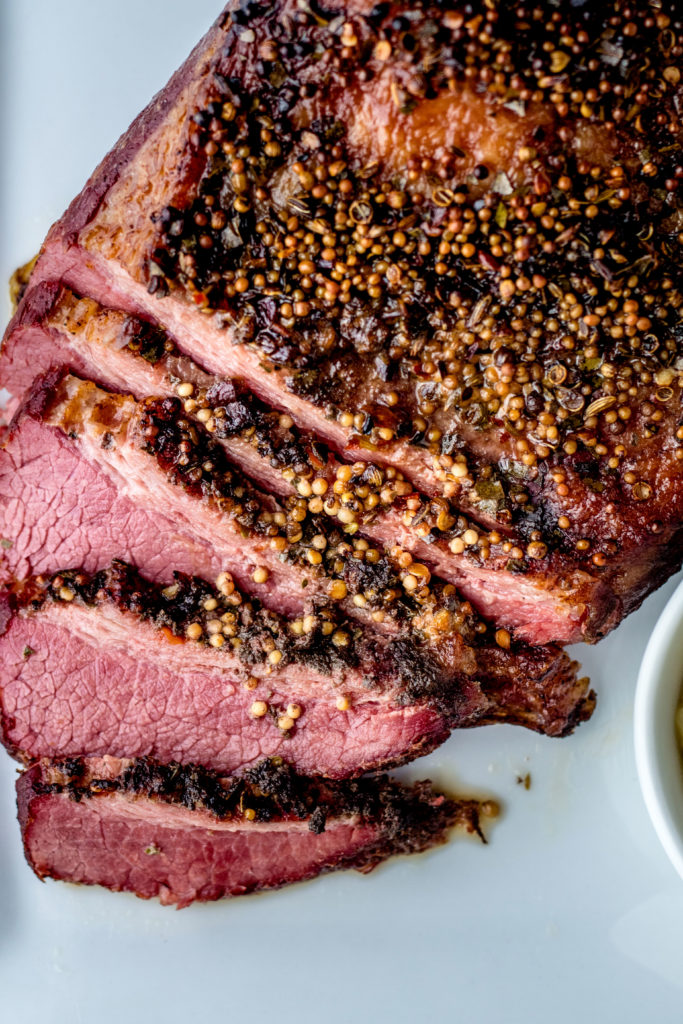
Flavor Retention: Contrary to popular belief, searing meat does not “seal in” juices. However, it does help to create a flavorful crust that can enhance the overall juiciness of the meat by retaining moisture during subsequent cooking methods, such as roasting or braising.
In summary, searing meat is a crucial step in many cooking processes as it enhances flavor, creates appealing texture, and improves the visual presentation of the dish.
Understanding the Basics of Searing
Searing is a cooking technique that involves cooking meat at high temperatures, creating a flavorful brown crust on the surface. Contrary to popular belief, searing doesn’t seal in the juices of the meat; instead, it enhances the Maillard reaction, resulting in a depth of flavor that’s unmatched.

Choosing the Right Pan:
The key to successful searing lies in selecting the right pan. Opt for a heavy-bottomed skillet, such as cast iron or stainless steel, which can withstand high temperatures and distribute heat evenly. Avoid non-stick pans, as they can hinder the development of a proper sear.
Preparing Your Meat:
Before searing, ensure your meat is dry and seasoned generously with salt and pepper. Moisture on the surface of the meat can impede the formation of a crust, so pat it dry with paper towels before placing it in the hot pan.
Getting the Pan Hot:
Heat your pan over medium-high to high heat for several minutes before adding the meat. You want the pan to be hot enough to create a sizzle when the meat hits the surface, ensuring a caramelized crust forms quickly.
Achieving the Perfect Sear:
Once your pan is hot, carefully add the meat, making sure not to overcrowd the pan. Allow the meat to cook undisturbed for a few minutes on each side, resisting the urge to move it around. This will promote even browning and maximize flavor development.
Adding Flavorful Enhancements:
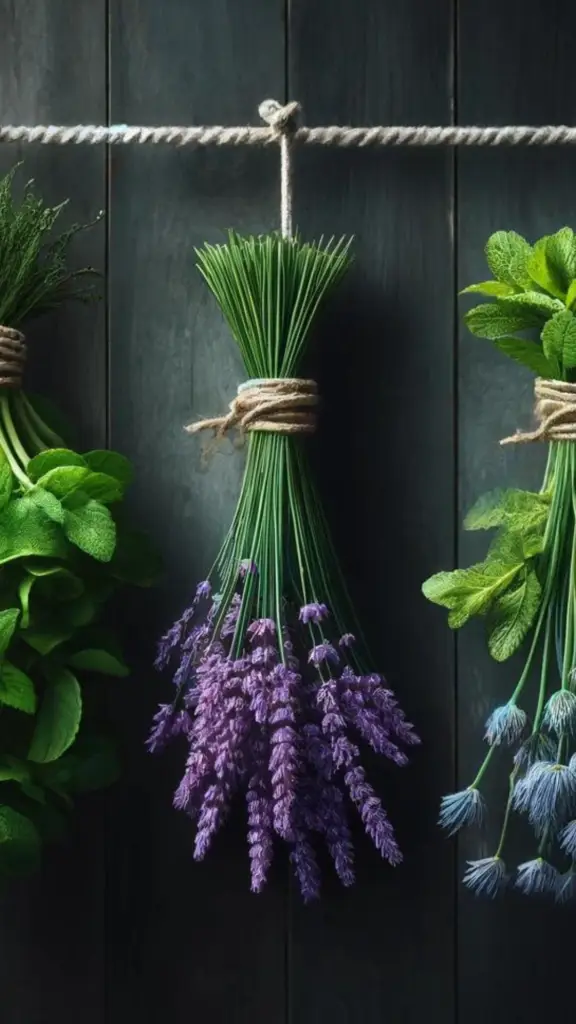
For an extra boost of flavor, consider adding aromatics like garlic, herbs, or butter to the pan during the searing process. These ingredients infuse the meat with additional layers of taste, elevating the dish to new heights.
Resting Your Meat:
After searing, allow your meat to rest for a few minutes before slicing and serving. This allows the juices to redistribute evenly throughout the meat, ensuring each bite is juicy and flavorful.
Experimenting with Different Cuts:
While traditional cuts like steak and pork chops are perfect candidates for searing, don’t be afraid to experiment with other cuts of meat as well. From chicken thighs to lamb chops, nearly any protein can benefit from the flavorful magic of searing.
Cleaning and Maintaining Your Pan:
After each use, clean your pan with hot water and a stiff brush to remove any leftover bits of food. Avoid using soap, as it can strip away the seasoning on cast iron pans. Instead, use a little oil and a paper towel to maintain the pan’s non-stick surface.
How to Sear Meat on the Stovetop
Searing meat on the stovetop is a fundamental cooking technique that enhances flavor and texture by creating a delicious caramelized crust. Here’s a step-by-step guide:
Choose the Right Pan: Use a heavy-bottomed skillet or a cast-iron pan. These materials distribute heat evenly and retain it well, ensuring a consistent sear.
Preheat the Pan: Place the skillet on the stove over medium-high heat. Let it heat up for a few minutes until it’s hot but not smoking. A drop of water should sizzle and evaporate immediately when sprinkled onto the pan.
Season the Meat: Pat the meat dry with paper towels to remove excess moisture. Season it generously with salt and pepper or any other desired spices. This helps to enhance the flavor of the meat and aids in the formation of a crust.
Add Oil: Once the pan is hot, add a high-heat cooking oil with a high smoke point such as vegetable oil, canola oil, or grapeseed oil. Swirl the oil to coat the bottom of the pan evenly.
Place the Meat in the Pan: Carefully place the seasoned meat in the hot skillet. Be cautious to avoid overcrowding the pan, as this can cause the temperature to drop and prevent proper browning.
Don’t Disturb the Meat: Allow the meat to sear without moving it for a few minutes. This allows the surface to develop a golden-brown crust. If you move the meat too soon, it may stick to the pan and tear.
Flip the Meat: Once the bottom is nicely seared and releases easily from the pan, use tongs to flip the meat to the other side. Continue cooking until the desired level of doneness is reached.
Rest the Meat: Once the meat is cooked to your liking, remove it from the pan and let it rest for a few minutes before slicing or serving. This allows the juices to redistribute, resulting in a juicier and more tender final dish.
Remember, searing is just the first step in cooking meat. Depending on the cut and your recipe, you may need to finish cooking the meat in the oven or on the stovetop to reach the desired level of doneness. Enjoy your perfectly seared meat!

In conclusion, mastering the art of searing is a culinary skill that can take your dishes from ordinary to extraordinary. By choosing the right pan, preparing your meat properly, and incorporating tips and tricks along the way, you’ll be well on your way to creating restaurant-quality meals in the comfort of your own kitchen. So fire up the stove, sharpen your knives, and get ready to elevate your cooking game with the magic of searing. Your taste buds will thank you!
Step Into My Kitchen!

Hey there, fellow food enthusiast! Welcome to Mean Green Chef, where every dish tells a story and every recipe is a labor of love. I’m thrilled to share a bit about myself and the journey that led me here, stirring pots and sprinkling spices for over three decades!


Just a quick heads up – you might notice some affiliate links sprinkled throughout our site. If you decide to click on them and make a purchase, rest assured, it won’t cost you extra. Instead, you’ll be helping to support our blog and keep the kitchen fires burning. Thanks a bunch for your support!
I always feel like my gas grill does not get hot enough for a good caramelization. I love using cast iron for this though. Works like a charm! Yours looks amazing!
Cast iron never fails for amazing caramelization, Tricia! I agree gas grills don’t cut it for me in this arena either, I still like to play with fire. 🙂 Thanks so much for the compliment and for visiting! 🙂